Template:Header
New Eagle > Products Wiki > Raptor Platform > Raptor Training
 Raptor™ Training, created by our team of experienced system engineers, provides hands-on experience which enables the new practitioner to gain familiarity with the tool chain by building, deploying, calibrating, and refining a real world control application. Use this page as a guide during training, here you can find a detailed agenda, documentation and helpful links.
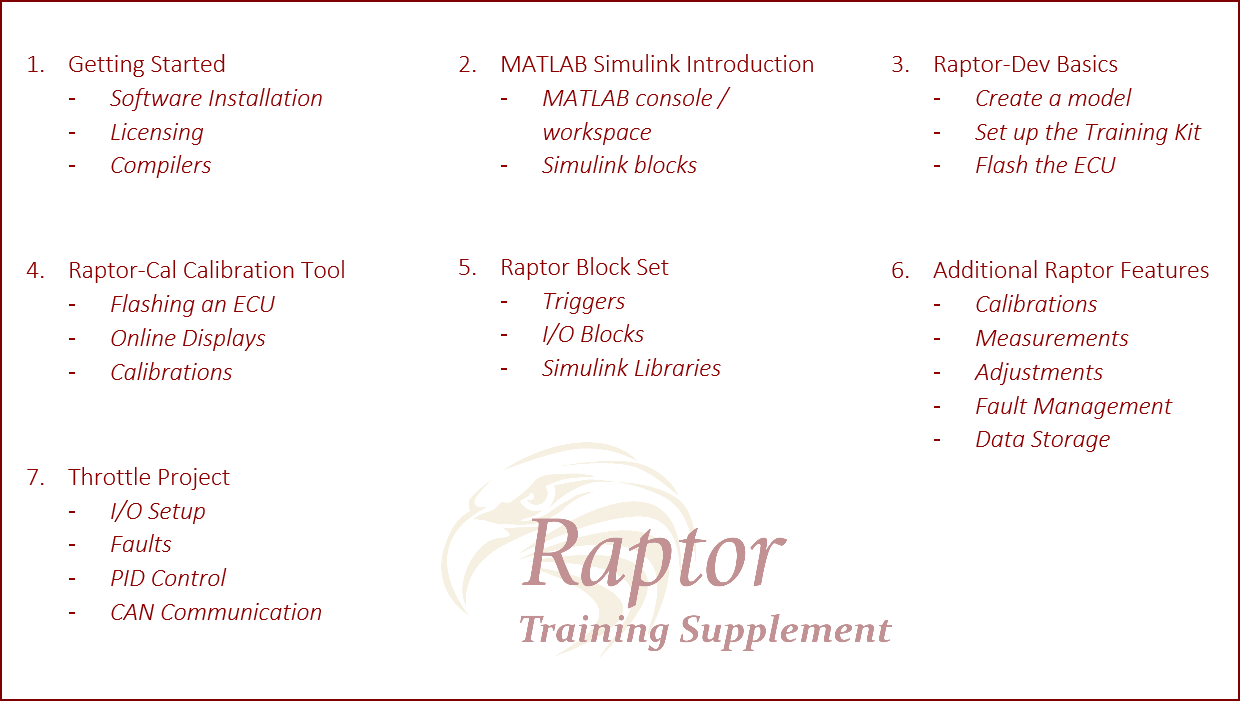
Training AgendaThis Agenda is the basic structure of Raptor Training, and provides an in depth tutorial on using Raptor in a real world environment. DownloadsThis section is for all documentation you may need for Raptor Training
Getting StartedSoftware RequirementsBelow is a short software checklist for Raptor Training:
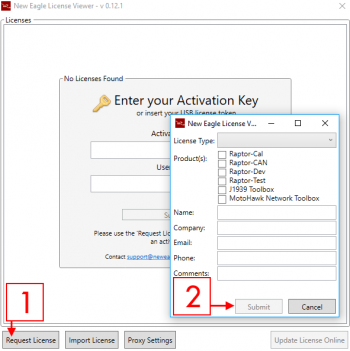
Please note: If a Mathworks demo is required, please contact New Eagle Support prior to training For a full list on how to get started use the Click Below: LicensingOnce Raptor is installed you will need to navigate to the New Eagle License Viewer. By default located here:
Below are the basic steps on how to request a new license:
For more information on how use the License Viewer Click Below: Raptor VersionThe final step of setting up the Raptor-Dev envirment is linking it to MATLAB. This is easily done by opening the Raptor Configuration Editor. By Default located here:
This is also detailed in the getting started section, click below to view this section: Raptor-Dev BasicsNow that Raptor-Dev is installed and ready for use, we will start off with some basic function of Raptor Dev. Creating a Project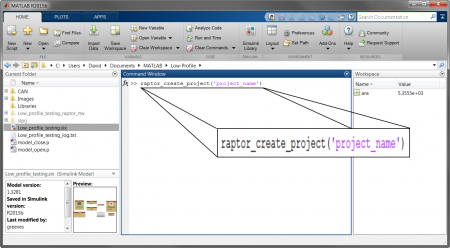 Creating a new project is done by navigating to the MATLAB command console and typing:
Note: Make sure to have your project name in the parentheses and within single quotes. Click below for more details on starting a Raptor project:
Kit Set UpA large part of Raptor Training is the hands-on experience, which is delivered using an simulated workbench using a GCM 196. Below is a diagram of how the training kit should be set up, this covers what should be configured and which pins should be connected. GCM 196 Training Block Diagram When this is complete, it is time to flash the module for the first time. Steps for this are provided in the next section! Raptor-Cal Basics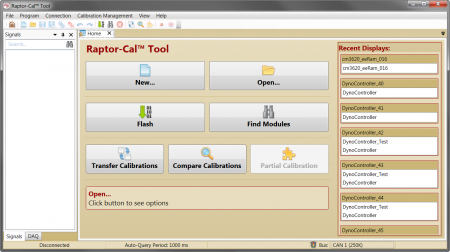 New Eagle's Raptor-Cal is a powerful calibration tool that can be used to flash, calibrate and monitor modules. Using a simple, user friendly interface Raptor-Cal is the a great tool not only for this course, but for out in the field. Raptor-Cal's flash module function is extremely useful and necessary during training, since this is how we will get the software created in the Raptor-Dev environment to the module being used. Once you have build your first model and the training kit is set up correctly, it is time to flash. Below is a simple ECU flashing procedure:
This will now commence the flashing procedure.
Click below for more information on how to use Raptor-Cal: |
