Raptor Display Examples: Difference between revisions
| Line 27: | Line 27: | ||
<gallery widths=322px heights=222px perrow=4 caption="A selection of displays created on the Raptor VeeCAN 500 and Raptor VeeCAN 700"> | <gallery widths=322px heights=222px perrow=4 caption="A selection of displays created on the Raptor VeeCAN 500 and Raptor VeeCAN 700"> | ||
Image:DBWHMI_Main.png|Autonomous Drive screen | Image:DBWHMI_Main.png|Autonomous Drive screen: Shows system states to the driver/operator | ||
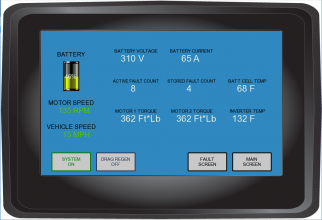
Image:DBWHMI_Cms.png|System Component Measurement screen | Image:DBWHMI_Cms.png|System Component Measurement screen: Provides information about the on-board system | ||
Image:DBWHMI_Faults.png|Faults screen | Image:DBWHMI_Faults.png|Faults screen: This screen populates with faults as they appear on the system | ||
Image:VC500_dash.jpg|Engine Display screen | Image:VC500_dash.jpg|Engine Display screen: Fully customizable images and actions including faults and status | ||
</gallery> | </gallery> | ||
Note: The VeeCAN 500 and 700 are developed using the same connectors, screen resolution and overall physical design. The 700 is the larger of the two displays with its 7-inch display, whereas the 500 has a 5-inch display. The projects above can be programmed onto either device. | Note: The VeeCAN 500 and 700 are developed using the same connectors, screen resolution and overall physical design. The 700 is the larger of the two displays with its 7-inch display, whereas the 500 has a 5-inch display. The projects above can be programmed onto either device. | ||
Revision as of 17:55, 3 February 2023
Raptor Display Help
Example Prebuilt Projects
The collection of files below are Example Raptor Display Builds.
These files are aimed to assist in testing or troubleshooting your VeeCAN displays.
Current models supported:
- VeeCAN 700
- VeeCAN 500
- VeeCAN 320
- VeeCAN 320 Lite
- VeeCAN 300R
- VeeCAN 800
- VeeCAN 128
Download the example projects: PrebuiltRVC.zip
- See the readme.txt for installation information included in the PrebuiltRVC.zip
Raptor Display Examples
VeeCAN 500/700 Display Examples
- A selection of displays created on the Raptor VeeCAN 500 and Raptor VeeCAN 700
-

Autonomous Drive screen: Shows system states to the driver/operator
-
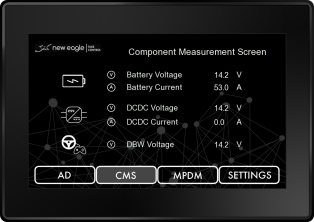
System Component Measurement screen: Provides information about the on-board system
-
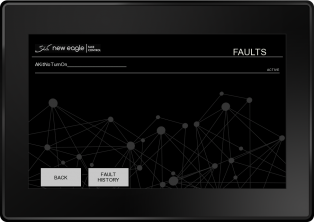
Faults screen: This screen populates with faults as they appear on the system
-
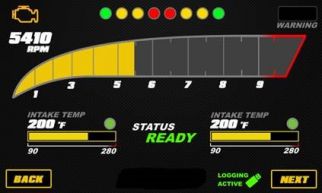
Engine Display screen: Fully customizable images and actions including faults and status


Note: The VeeCAN 500 and 700 are developed using the same connectors, screen resolution and overall physical design. The 700 is the larger of the two displays with its 7-inch display, whereas the 500 has a 5-inch display. The projects above can be programmed onto either device.
VeeCAN 320 Display Examples
- A selection of displays created on the Raptor VeeCAN 320
-
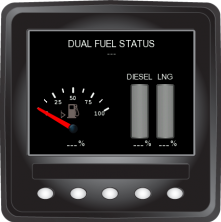
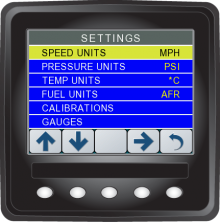
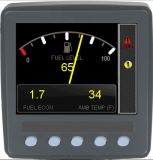
Example of a fuel gauge and fuel status screen
-
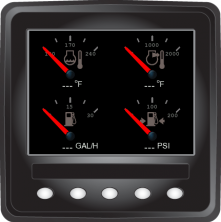
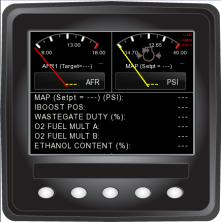
A collection of dials showing engine information
-

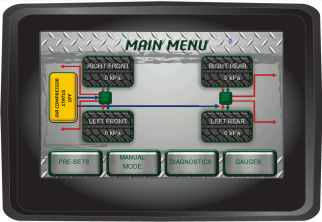
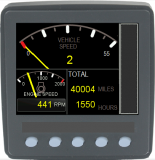
A custom Raptor screen showing the battery meter, vehicle speed and engine speed
-
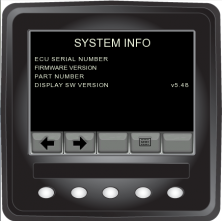
A very simple Raptor System info screen and menu
-
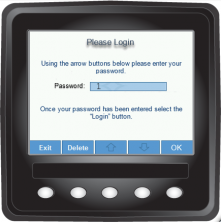
Anything is possible in Raptor, even a login screen such as this
-
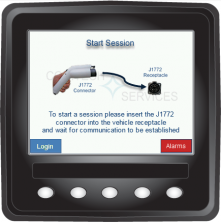
Raptor's customization is shown heavily in this custom menu screen
-
A custom system menu screen, capable of controlling the whole display
-
Raptor's possibilities are endless, with customs displays like this one


VeeCAN 800 Display Examples
- A selection of displays created on the Raptor VeeCAN 800
-
-

-


-
Main Display screen
-
Data screen
-

Fault screen


VeeCAN 300R Display Examples
-
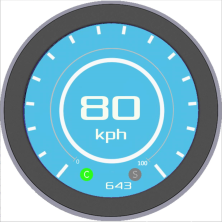
Speedometer screen

Raptor Simulators
Installation Instructions
- Downloads
- Select a simulator to use from below (i.e. The Dancing Bear Simulator)
- Select the correct Kvaser Drivers for your operating system
- Installation
- Extract the Simulator zip file anywhere (My Documents, Desktop, etc.)
- Run the driver installer downloaded from the Kvaser website (link below)
*Kvaser Drivers Required
Download Kvaser Drivers
Dancing Bear Simulator
Download the Dancing Bear Simulator
-
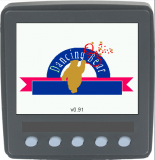
Dancing Bear Logo on a VeeCAN Splash Screen, a custom system for a luxury catamaran yacht
-
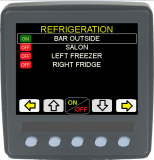
A custom screen from the Dancing Bear boat system, containing the Refrigeration screen
-

The Dancing Bear's system water and fuel monitor
-
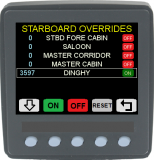
A Raptor-made screen displaying and controlling overrides


Custom Advanced Simulator
Download the Custom Advanced Simulator
-

Initial Raptor splash screen
-
Example of a fuel gauge, with a fault panel on the side and additional information at the bottom
-
A dial showing useful statistics of a specific engine
-
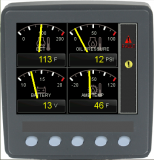
A quad gauge screen full of useful information, from temperatures to pressure


Electric Vehicle Simulator
New Eagle's Electric Vehicle HMI can be used as an off-the-shelf EV dash display or the template for your custom HMI to suit any system.
Try this display on your own PC. Download the EV Desktop Simulator
-
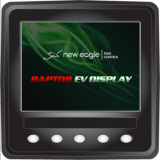
New Eagle Splash screen
-
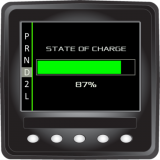
Main menu for the EV custom display
-
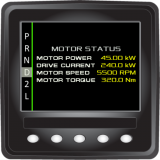
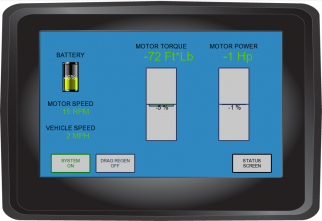
A motor status information screen
-
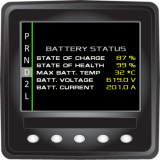
A battery status information screen


